Growing a fig tree up a wall
Our garden has some constraints: (a) available space; and (b) available sunlight. Taken together it was not possible to generate enough "farm space" to grow a self-sufficient crop of vegetables and have an orchard at the same time. The choice was to grow as many vegetables as possible and then work out how we might grow some fruit trees. A west-facing wall of the house was chosen as a viable place to experiment with growing a fig tree up the wall using a fan-type strategy.
The rationale for this page is to provide a guide as to what I did and to chart the history of the fig tree!
Materials
- One Black Genoa fig tree (purchased from Daleys Fruit Trees in Northern NSW).
- 2 x 2.4 metre sleepers.
- 2 x 3 metre stakes.
- Some wire, dynabold eyelets and wire tensioners.
Location
- Newcastle NSW 2300.
- Latitude: 33.00.00.
- Longitude: 151.45.00.
- Location: 165km north of Sydney.
Preparation
Fig trees grow very quickly and have large root systems if left unimpeded. To control their growth you can construct various limiting devices. I planned to grow the fig in open ground but because space is at a premium and I wanted it to grow up a wall I built a 3.2 metres x 800mm holding container using sleepers. Fig trees have largely surface root structures so embedding the sleepers in about 6 cms would help keep the root system contained. The tree would still have plenty of room to grow but would not take over the rest of the vegetable garden (or this section of it).
Building the garden bed housing turned out to be a bigger task than planned because right where I wanted the roots of the tree to proliferate were some stormwater pipes. I have eliminated the need for most of the stormwater system on the property (via rain tanks) but this particular part of the system was required. So I had to redirect it which took a little more digging than planned. I filled up the garden bed, which now was contained by the sleepers and also included part of the area I had dug out to relocate the PVC storm, with rich compost from the compost heap. The soil was very fertile and well-suited for a fig tree which loves organic matter close to the surface.
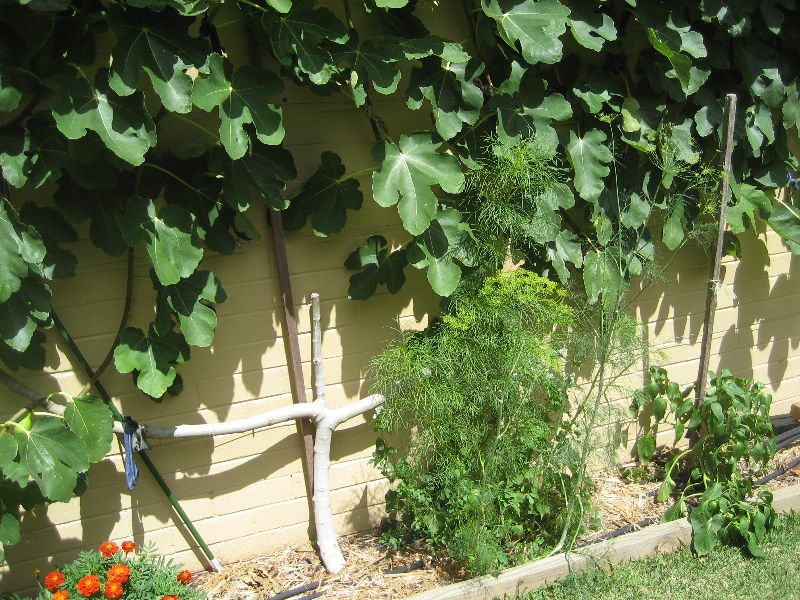
I also began to install the wire support system on the brick wall by drilling the dynabolt eyelets in at various intervals. In Year 2 (winter of 2008) I subsequently installed and tensioned the fence wire. The wires are at about 1/2 metre intervals up the wall. I attached a couple tomato-type stakes at 45 degree angles away from the main trunk of the tree (spaced about a metre either side of the trunk) which would serve as a support for the two main bearers that I would eventually train.
Year One
The tree was planted in the this container against the house in the Australian winter of 2007 (June). The plant lost its leaves virtually immediately and spent the winter as a single stick (a maiden whip). By September 2007, the first bud was showing and throughout the first spring and summer (2007-08) the tree grew vigorously.
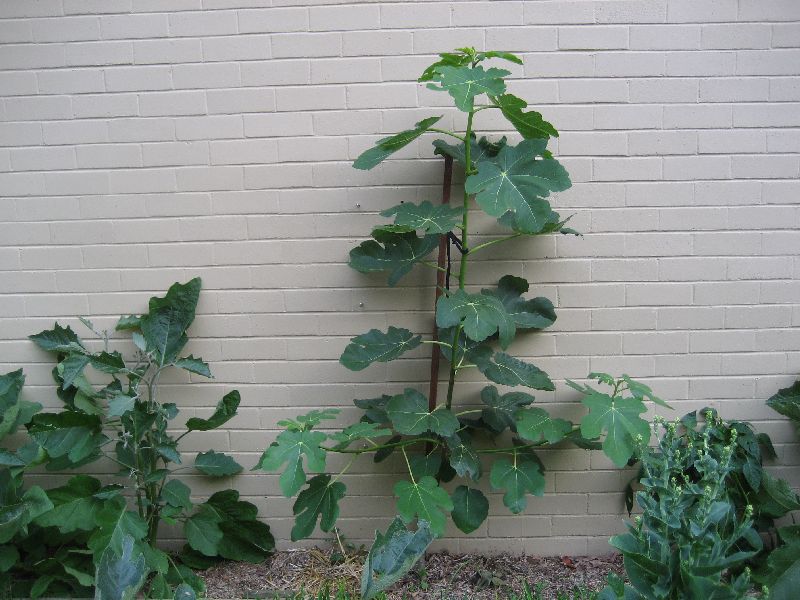
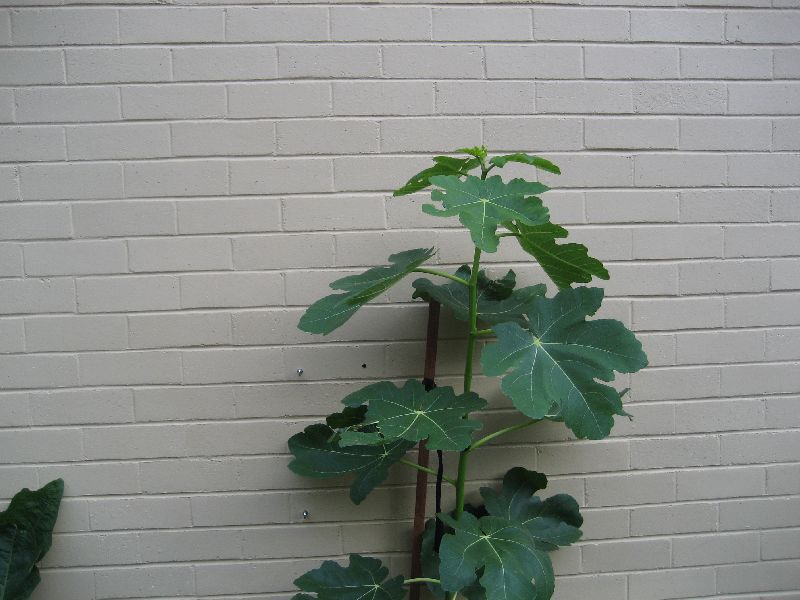
I chose to train the fig as a fan structure which is a sort off espalier pattern but not quite. Instead of training the side branches horizontally at different heights as the main trunk grows, the branches are trained into a flat fan shape against the wall with the two main branches growing outwards at around 40 degrees (in my case it was more like 30 degrees to maximise the number of side shoots in Year Two that I could train upwards). The fan structure provides plenty of scope over the coming years for several new branches to form in the fan and to ensure enough light gets into the overall structure of the tree.
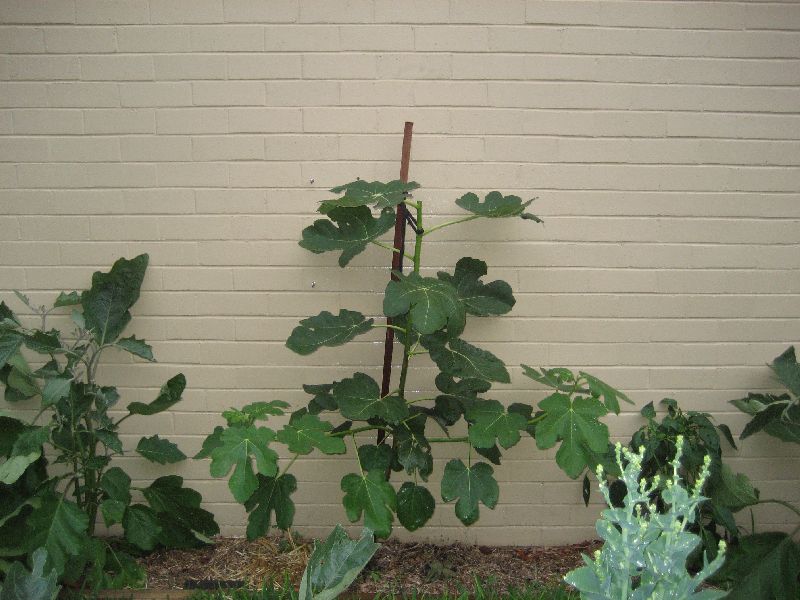
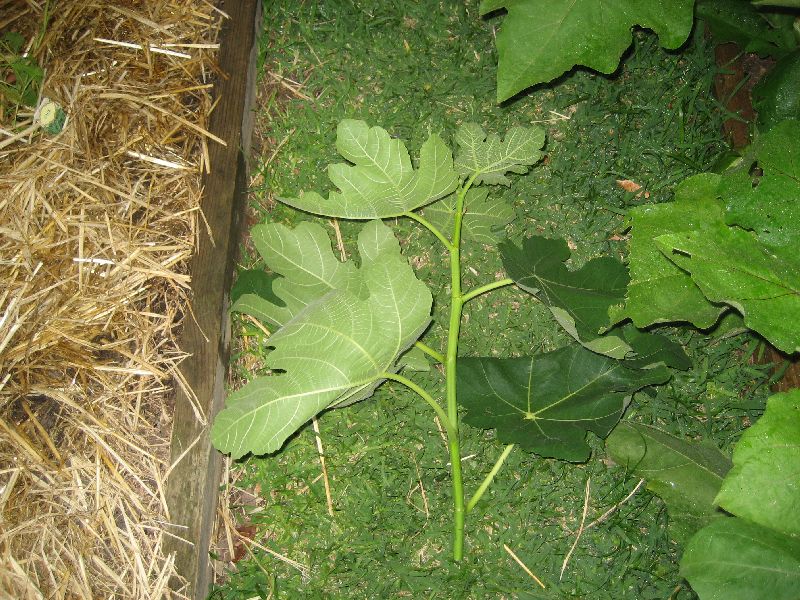
Here are a series of shots of the tree at the end of summer 2007-08 (click each picture for larger images). Disregard the plants to either side - an eggplant and some other vegatables which I planted in the same container while the fig was small to maximise output space:
|
|

|
|
|
|
To ensure the lateral shoots would grow strongly I cut the top of the main growing shoot once the side shoots of the main trunk were well established.
This is how the tree looked at this point (click each picture for larger images).
|
|

|

|
|
At the end of the first year, the tree had grown strongly along the two lateral branches that I had selected. I cut the growth buds off these branches prior to the new growth season in Year Two. Overall, three large figs were produced in the first year which were of an excellent quality.
Year Two
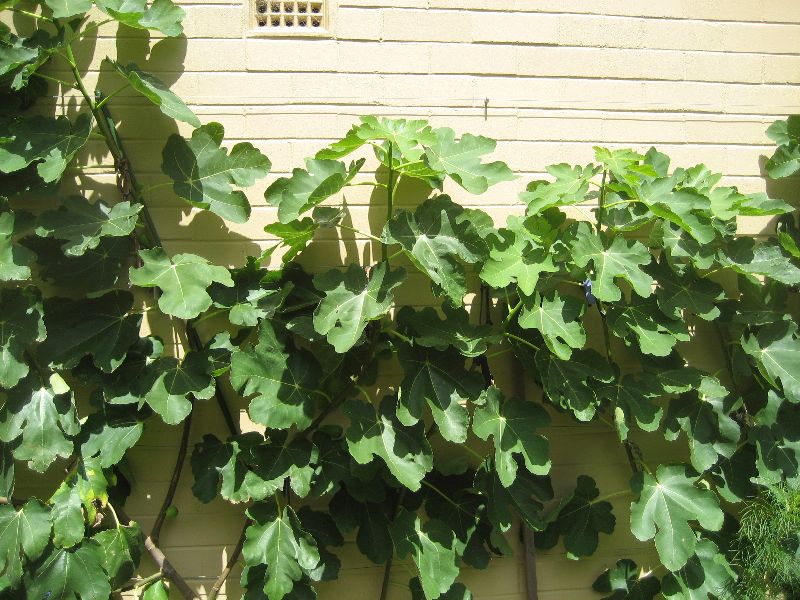
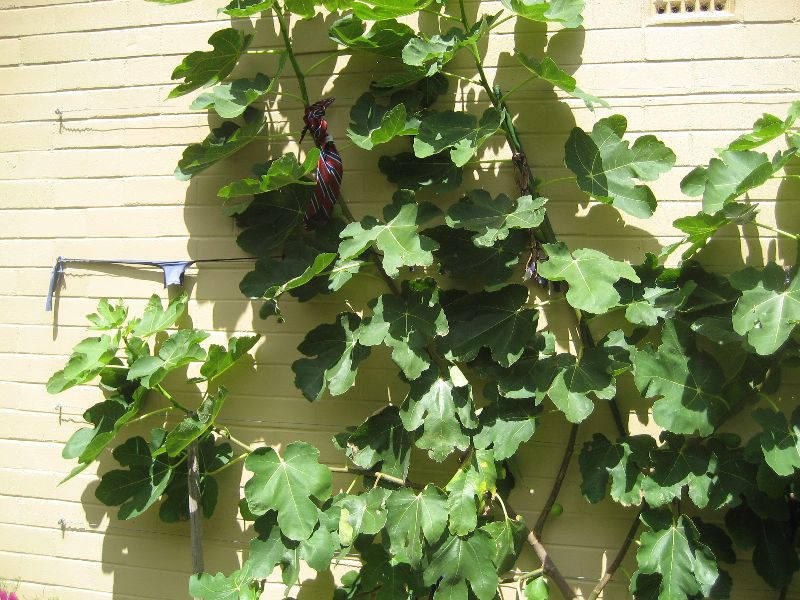
In the second spring the rapid growth occurred with shoots coming off the two main lateral branches I had trained. I progressively selected branches that could grow off the two main branches in a "fan-like" pattern and cut out other shoots. As these new shoots grew into branches, I tied them against the wall using the wires that I installed early in the 2008 Spring. At first, the training was fairly loose but as the growth continued I progressively tightened the ties against the wire grid to get the branches growing up against the wall rather than out.
I feed the tree mainly organic compost and some chicken manure. It gets watered every day as it takes a beating from the afternoon sun in Summer. The other factor is because it is growing tight against the wall of the house the eaves stop it getting rain unless it is coming from the West which is rare. So it gets plenty of tank water applied to it. I also grow some other plants in the bed (see next paragraph) which absorb moisture.
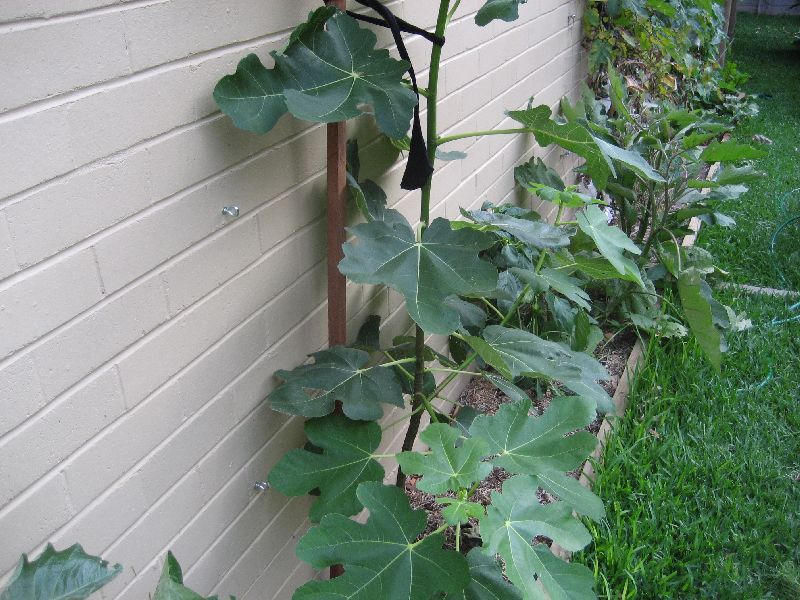
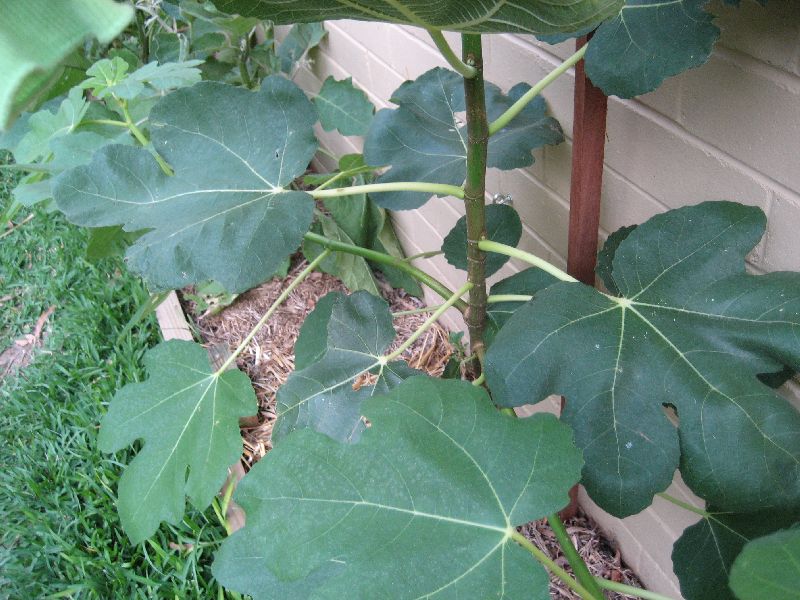
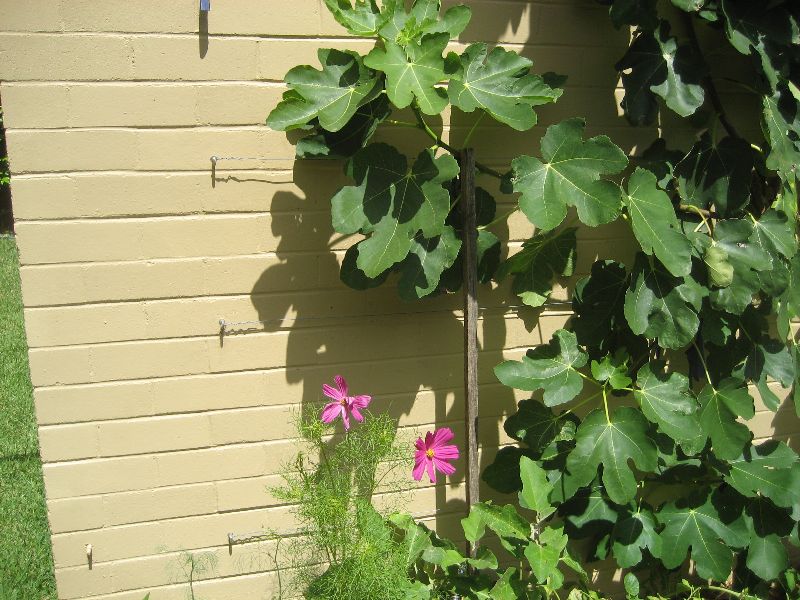
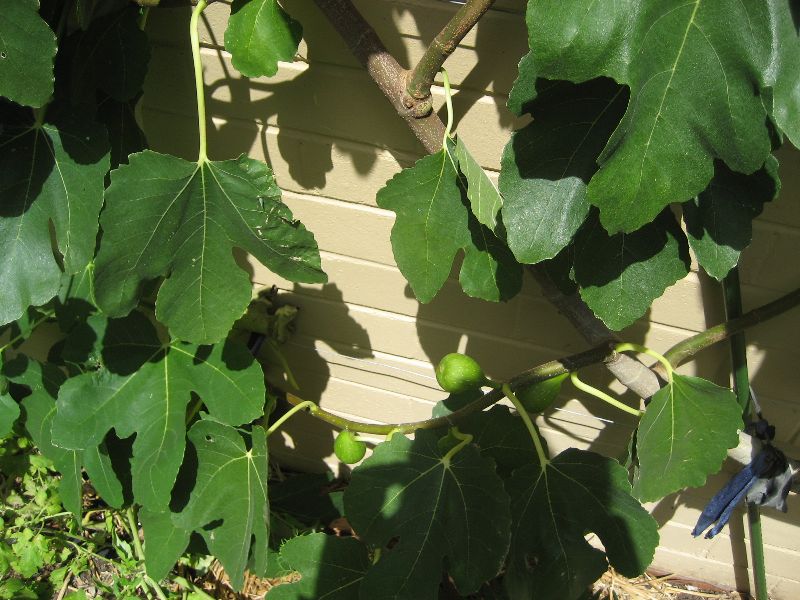
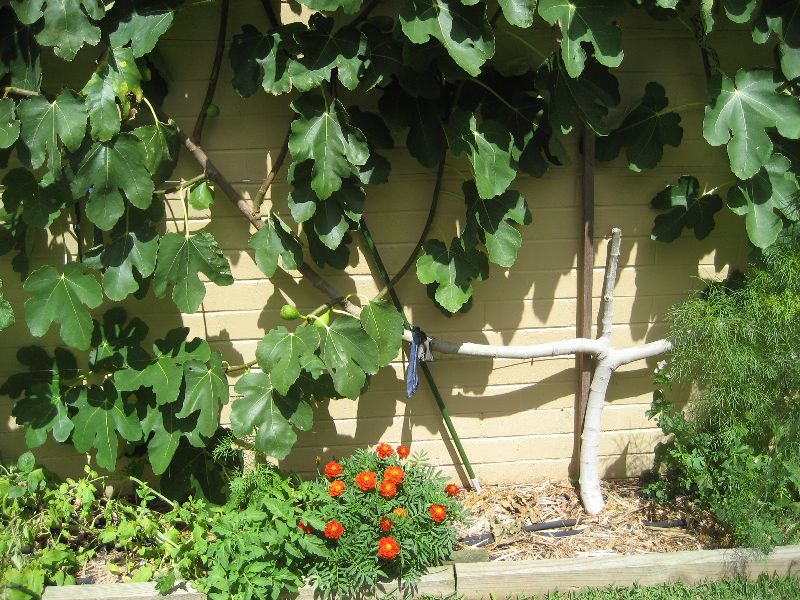
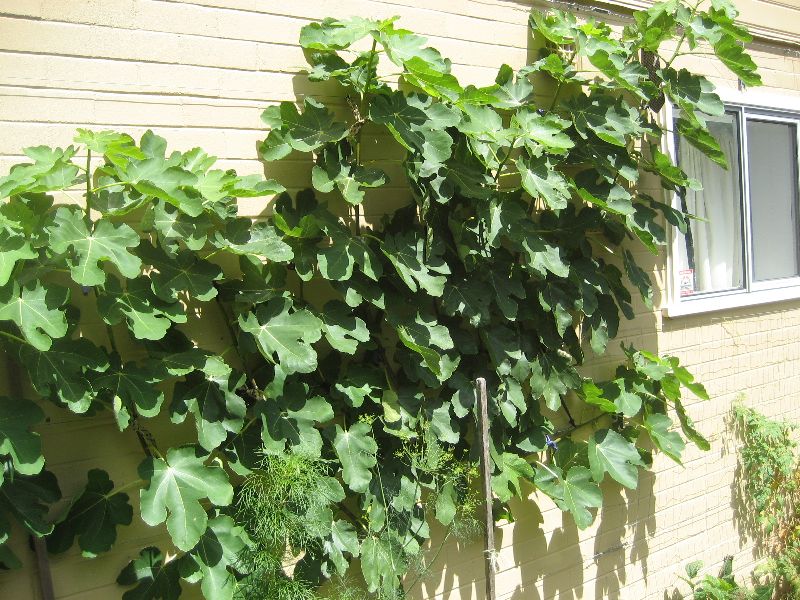
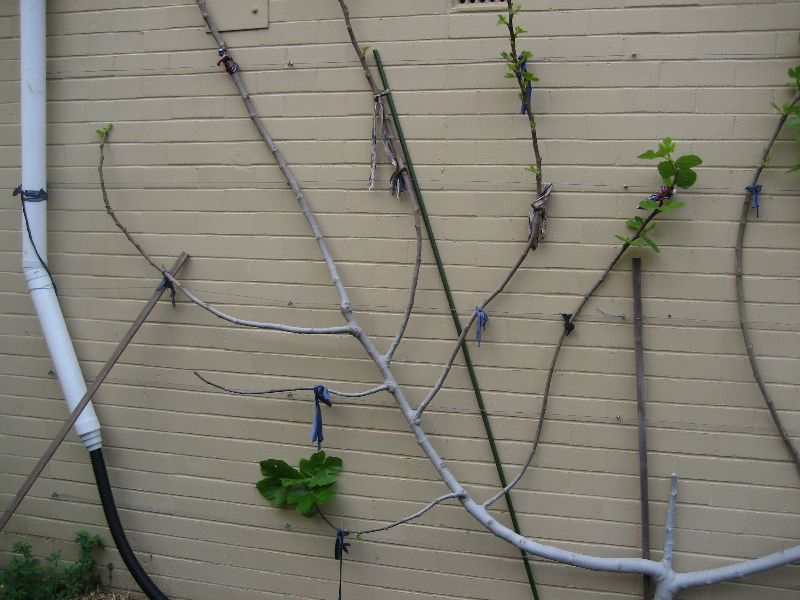
In the photos below you will notice a number of other plants sharing the garden bed with the fig. These are various "bug control" plants that I planted to keep fruit fly and other pests away.
You can also see the cross-like main structure that I created by pruning after the first year of growth in the photos. The plan is to prune back at the end of this year so that some of the off-shoots from the main structure will disappear and other shoots come of the remaining off-shoots - which is not quite a fan-type structure but nearly.
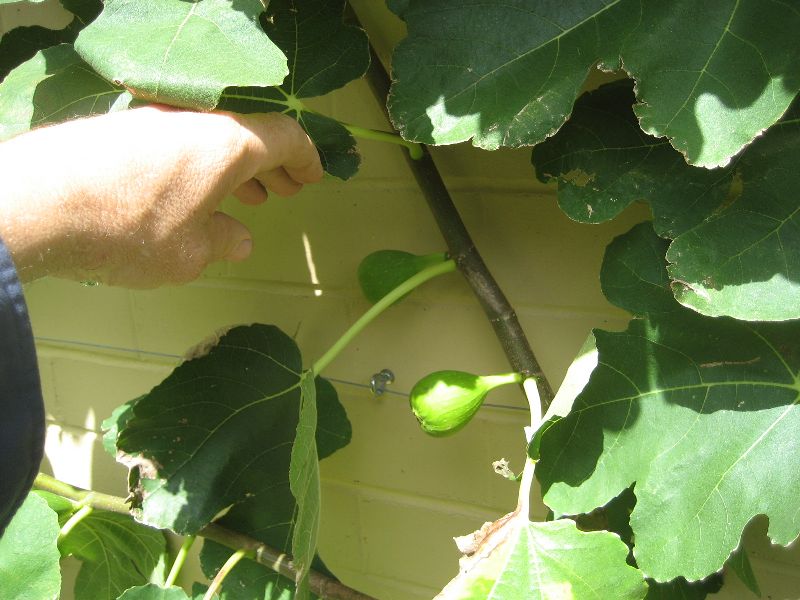
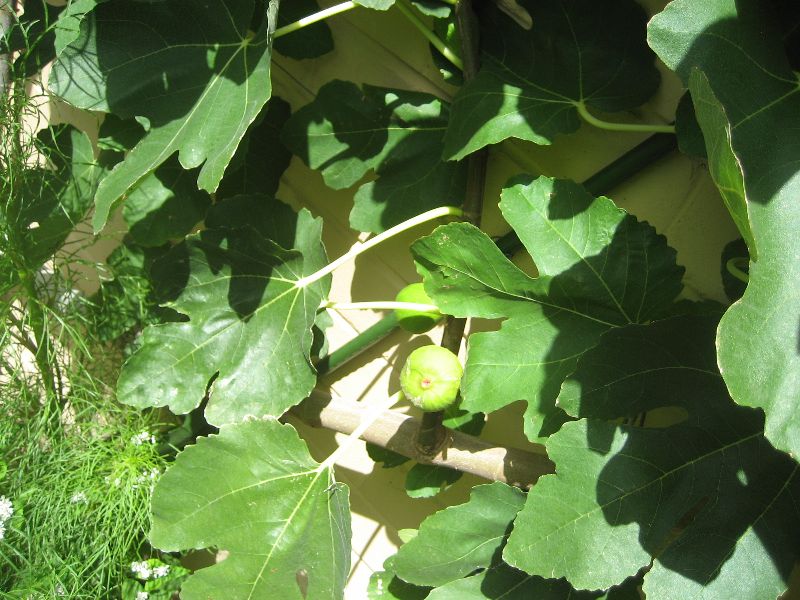
The tree is now bearing a few dozen figs and more appear as the branch structures grows. There will be a huge crop around April to May 2009. We already had two large figs in December 2008 which were left over fruit from the first year's growth.
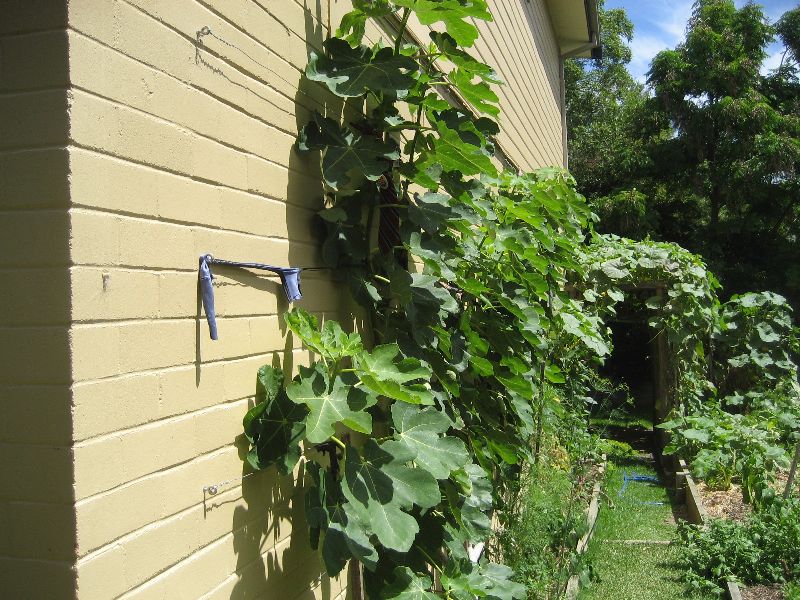
The plant is now reaching above the first-floor level of the house and I will have to work out how to select the branches to continue in the third year so as to keep the tree growing up (not out) and also to give the structure enough room and light to be productive.
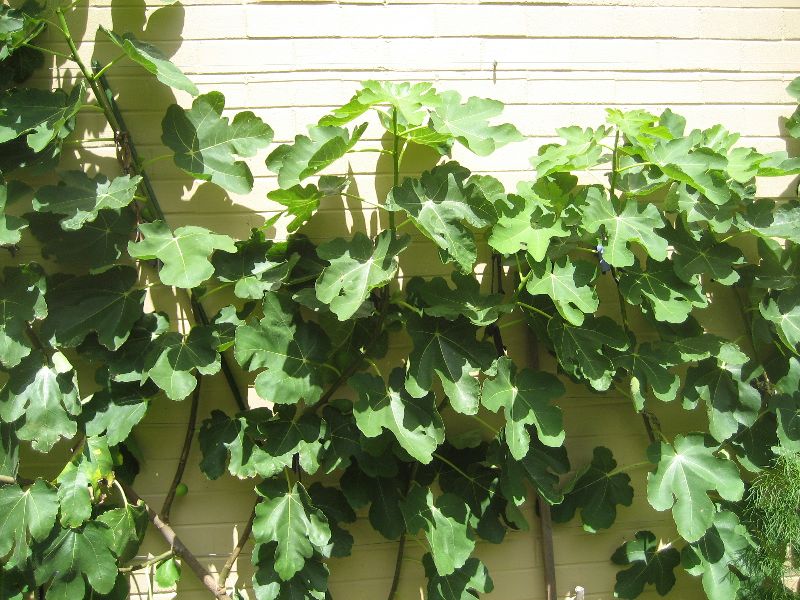
Photos from Year Two growing season (click each picture for larger images):
|
|
|

|
|
|
|
|
|
|
|
|
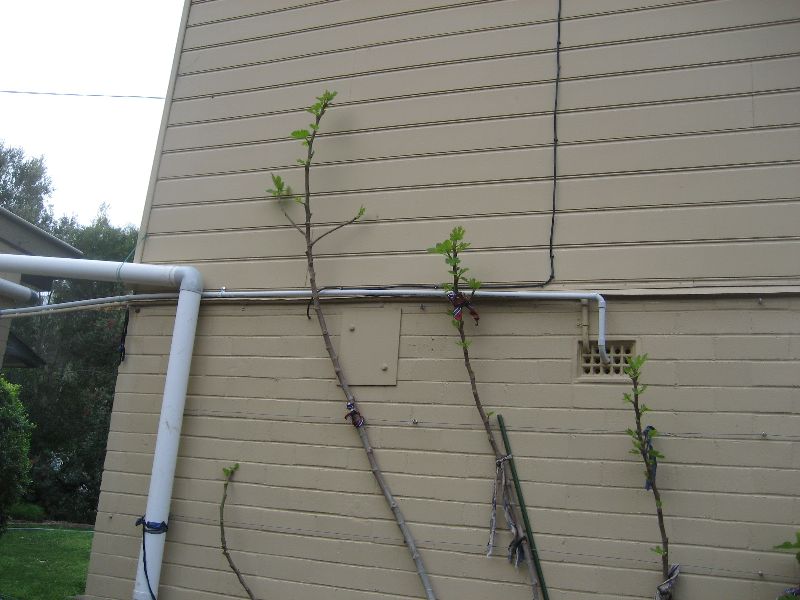
At the end of the second year, we had a reasonably large crop of figs - enough to eat every day for some weeks. The growth had reached the top of the first-story before the leaves shed for the autumn.
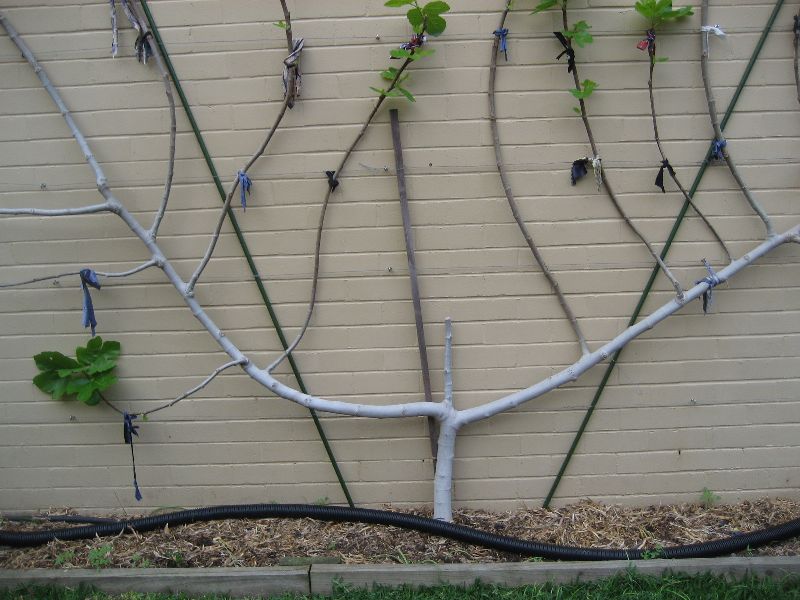
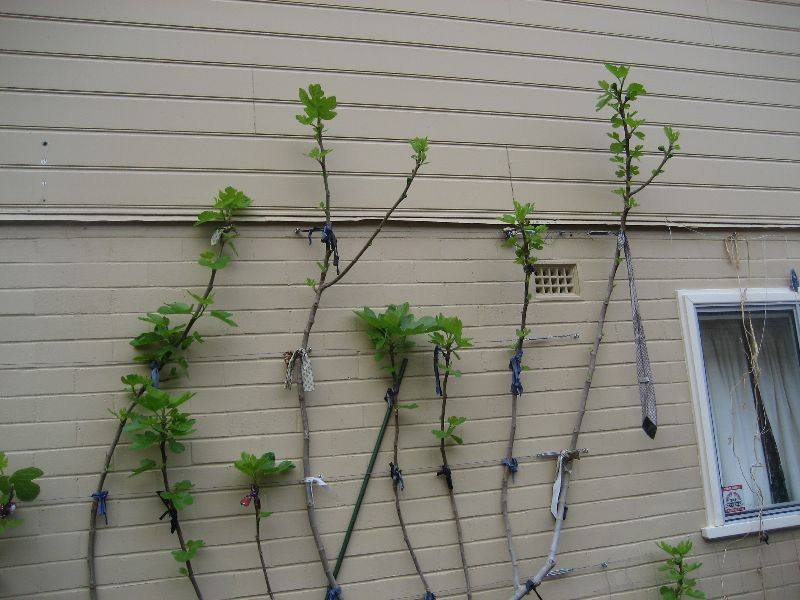
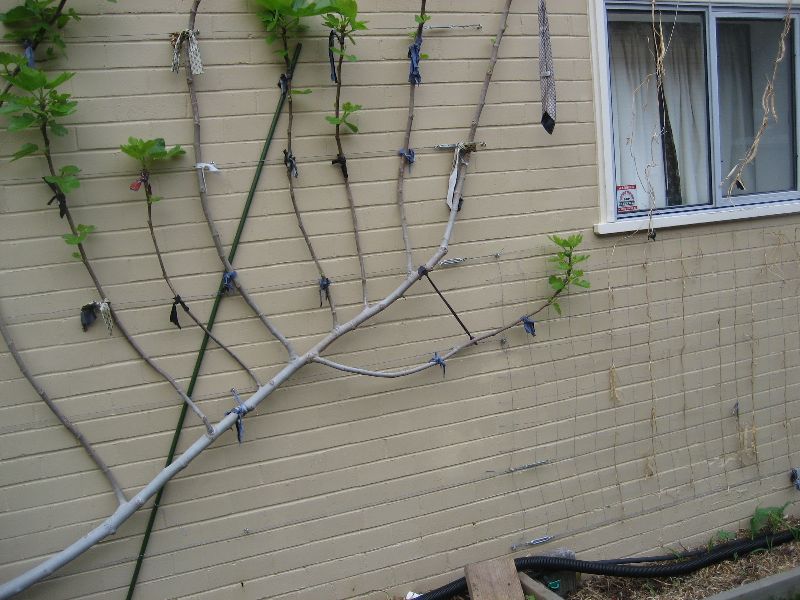
Here is what the tree looked like after the Winter as the new shoots were forming and before I had pruned it.
Photos from end of Year Two growing season (click each picture for larger images):
|

|
|
|
|
|
The following picture gives you an idea of how I pruned the tree (click for a larger image) - the red lines are more or less where I cut it back. I pruned it symmetrically right and left. The books say to cut it back by 1/3. I didn't do that overall but I did prune the two main branches right and left from which the upshoots had grown (see pictures in previous table) fairly heavily. I realised that the text-book approach was not going to work to well and so it became experimental.

The stormwater pipes on a right-angle that you can see in some of the photos were an experimental feed from guttering on the garage roof. It wasn't very successful and now the main watering system that services the fig tree is the pumped out grey water from the house (see Greywater homepage). I feed the water into pipes that are underneath the mulch keeping the moisture in to prevent the fig from drying out. The west wall location that it is climbing up gets pretty hot in a Newcastle summer.
Year Three
The tree developed a disease in Year 3 and I was forced to remove it.